Every Detail Makes the Dish

Preparing a meal for someone is so much more than fulfillment of hunger. It is the nurturing of a heart, a gesture of love, an expression of gratitude, a message that delivers what words could not. Make sure the time and love you put into cooking comes through in every bite. We can help.
Seasoning the Beef
Ask any chef when you should season the beef and you’ll get a wide array of answers. To us, it’s a matter of taste. Exploring a little is fun! Seasoning 24 hours before cooking allows the flavors to impregnate the fat for maximum flavor. Conversely, seasoning just before allows the unique flavor of each cut to come to life more vividly. We recommend seasoning roasts one day ahead, rich-flavored cuts such as ribeye just before cooking, and end cuts such as round benefit from a lengthy marinade. Flavored, or finishing salts should be used at the very end of cooking.
Temper the Beef
Before cooking the beef, take time to bring it to room temperature. Steaks may take 30 minutes to temper from the refrigerator, whereas roast can take twice as long. Tempering allows more even cooking, ensuring the inside is done while the outside generates a nice char.
Searing the Outsides
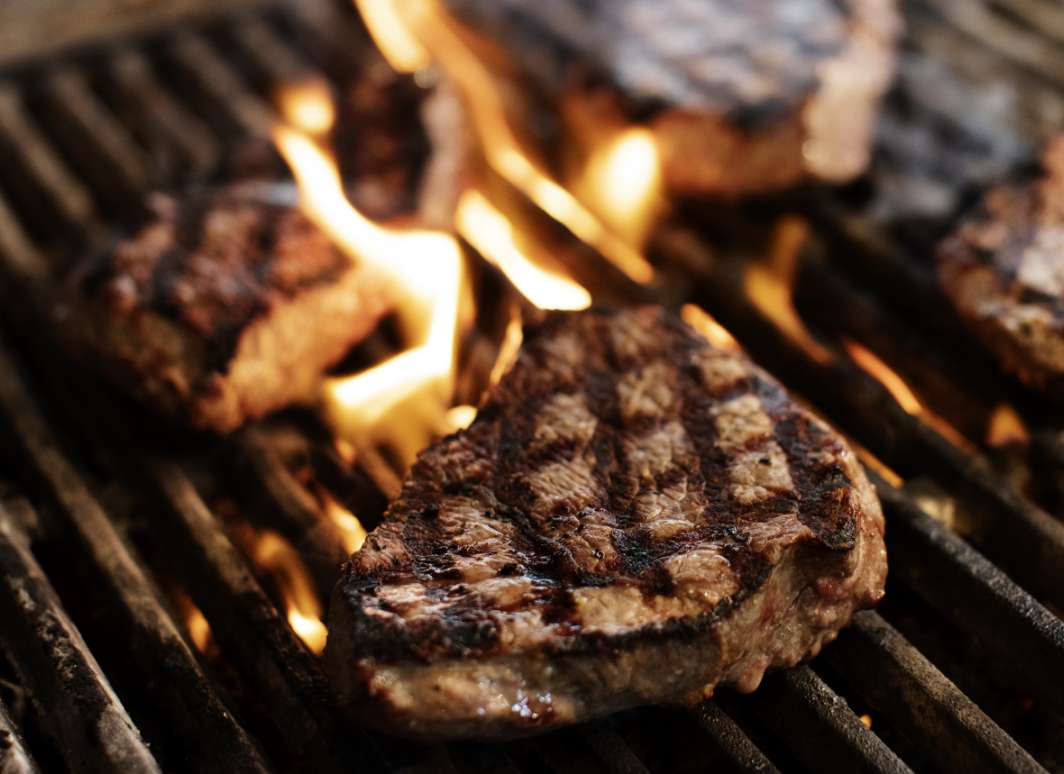
The searing process, or “Maillard Reaction”, provides a different flavor profile compared
to the rest of the meat. Beyond the taste, it ensures tenderness and juiciness as the crust helps to lock in juices.
Low or High Heat?
It’s important to vary the temperature over the time your beef cooks. The traditional searing method involves using high heat for the initial stages and medium heat to bring the center to the desired doneness. An alternative method is to bring the center to desired doneness with low to medium heat and finish with a high-heat sear. Whichever you choose, temperature variability can help generate savory flavors and a perfectly cooked steak.
The Right Doneness
Doneness is ultimately a personal choice, but generally speaking, cuts with a high amount
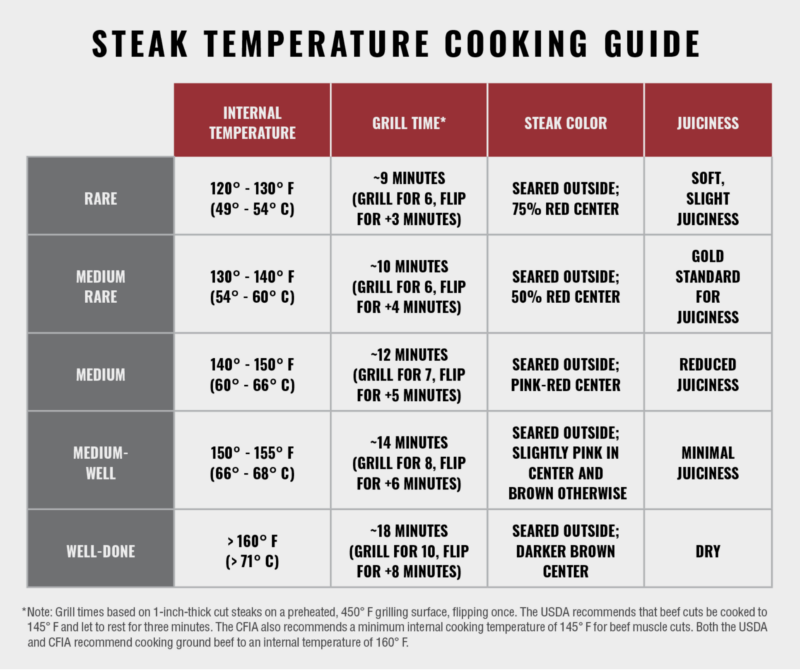
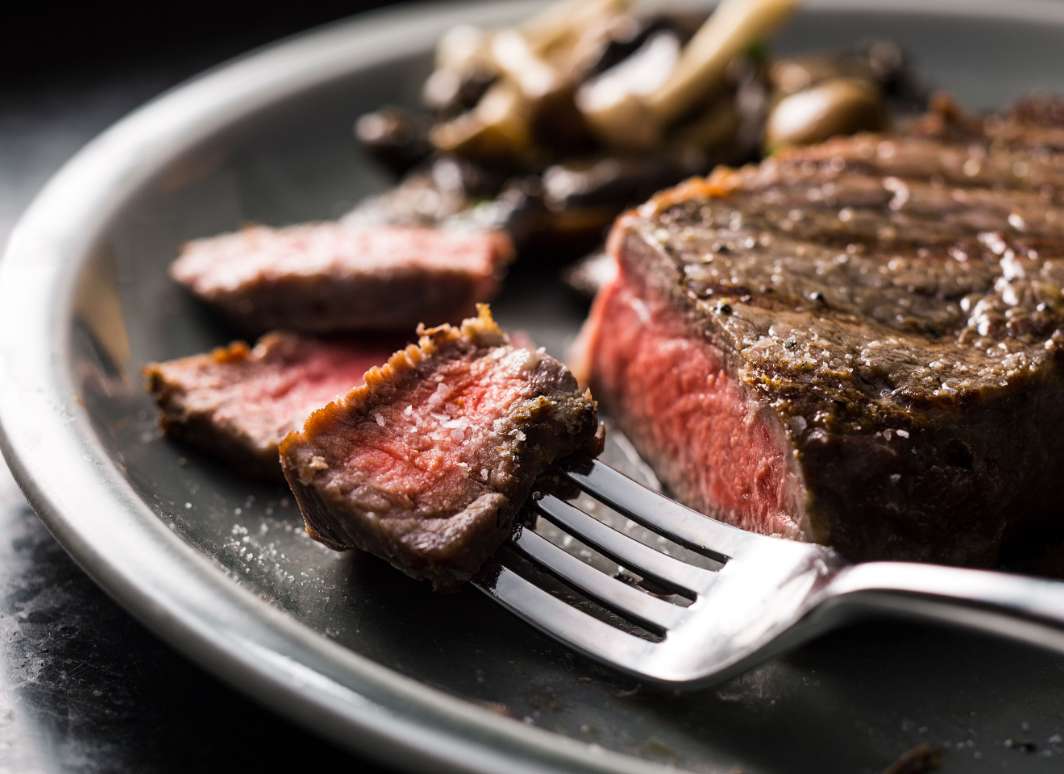
of marbling (intramuscular fat) do quite well cooked to medium rare. This allows the fat to render and baste the cut while cooking, but also retains moisture for a flavorful and juicy result. Many chefs prepare different cuts at different doneness levels, depending on the amount of fat and how the meat will be served. Refer to the steak temperature guide for tips on cooking to desired doneness stages.

Removing from the Heat Source Early
When cooking a steak or roast, it’s important to remove it from the heat source 5 or 10 degrees, respectively, below its desired doneness. Beef retains heat and will continue to cook after removed from heat.
Allow the Product to Rest
Beef should not be immediately consumed after removing from heat. Allow steaks to rest for 3-5 minutes and roasts for 10-15. Not only will it continue to cook internally, but juices and flavors will reabsorb. We recommend tenting roasts with foil as they rest, keeping an eye on the digital thermometer.
Add Finishing Touches
Finishing seasonings, such as wood-smoked salts, should be sprinkled lightly after the resting process. Save finishing salts for after cooking to avoid muting any distinguishing flavors of the seasoning.
Cutting Against the Grain
The grain of the steak refers to the direction the muscle fiber runs. Whether the cut
is fresh or cooked, you should be able to identify the grains. Cutting perpendicular to
the grain allows you to cut through the tougher fiber and leads to a much more tender eating experience.


 Follow us for more